


I apologize for the rather sad ironing board cover that appears in my blog photos. It has seen more then its fair share of iron-on hemming for drapes and crafts. I swear its not dirty, its just burnt on hemming tape!
I couldn't think of anything witty with ottoman in it for the title of the post. Sorry.
My inspiration for the ottoman came with a $1 breakfast at Ikea. Kitty, myself and my husband enjoyed our cheap treat and of course had to wander through Ikea. I did exercise some shopping restraint. But in the fabric section these large circular bundles of square cloth pieces caught my eye, along with the $3.99 (I think) price. There were at least 40 pieces of material with different bundles having different colour themes. Brought home a bundle and the wheels started turning.
The Inspiration
- Ikea upholstery fabric (its rather thick but durable)
- The fabulous "Leather" Ottomen tutorial by Kris at 1 Inch Minis
Supplies
- Aleene's Tacky Glue
- Beacon's Quick Grip Glue
- Iron-on hemming
- Iron, pins, ironing board
- Cardboard for the top piece of the ottoman
- Fabric
- Felt or batting for the fluff factor
- Foam (or in my case, those kneeling pads you use when gardening)
- Embroidery floss
- Wood feet (optional)
- Wood stain or paint (for the wood feet)
- Clamps (optional)
I took Kris' measurements of 2 1/8 by 1 5/8 for the general dimensions. The foam itself was 3/4 of an inch thick. Close enough for me!
I wrapped the bottom of the foam with fabric. I always use Quick Grip glue, but be forewarned if you make it gloppy, it will bleed through the fabric.
I then took a strip of the fabric, the length being the entire circumference of the foam block, and cut it so it was 3/4 inch wide PLUS room for a hem.
Then I used the iron-on hemming to make the strip neat and tidy.
Advice: Gently pinch the fabric at each 4 corners, then go back to press each corner with the iron. Makes for sharp corners! And clamp the 2 ends to the foam to dry.
I then took the cardboard I had cut for the top of the ottaman and wrapped it in felt. I didn't have batting sheets.
Then, I wrapped the whole top with the fabric. Unlike Kris' tutorial I didn't make the top piece square and repeat the fabric band part around it. I simply folded the material over and glued.
Here is the beast glued together and clamped. Doing it by hand is a big pain and I always find something slips off center just enough that I get angry.
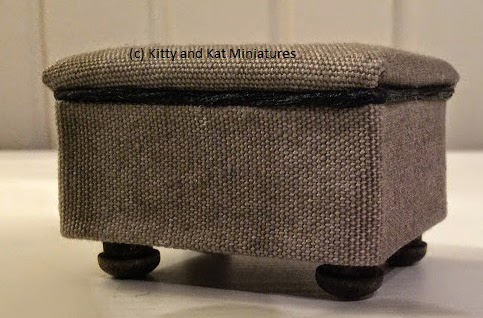
I couldn't get inspired to follow Kris' instructions for piping. It just looked like too much work at 10 pm for me to try. SO I took some embroidery floss, used my Aleene's glue on my fingers and smeared the floss with glue, then gave it a few twists. I gave it a minute to tack up, then put it in the seam between the top and the base. Gap problem solved!
I stained and glued on 4 wood feet to finish the look.
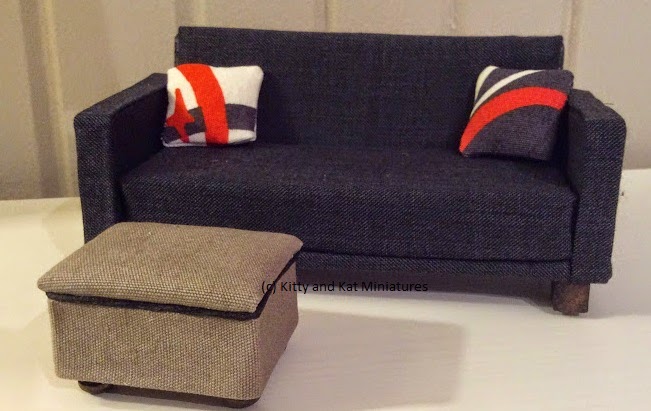
And here is my finished product! The height works better with my couch.
All in, it took less then 1 hour while I did loads of laundry.
And please look through Kris at 1 Inch Mini's tutorial before following mine. She has all the details and knowledge, I just modified things to suit my needs.


